


Starting a YouTube channel is easier than ever. With just a few essential tools, beginners can create high-quality videos without investing in expensive studio equipment. In fact, most successful beginner setups include four core components: camera, microphone, lighting, and editing software.
Below is a complete YouTube starter kit designed for beginners who want to create professional-looking videos on a budget.
1. Camera or Smartphone (Your Main Recording Device)

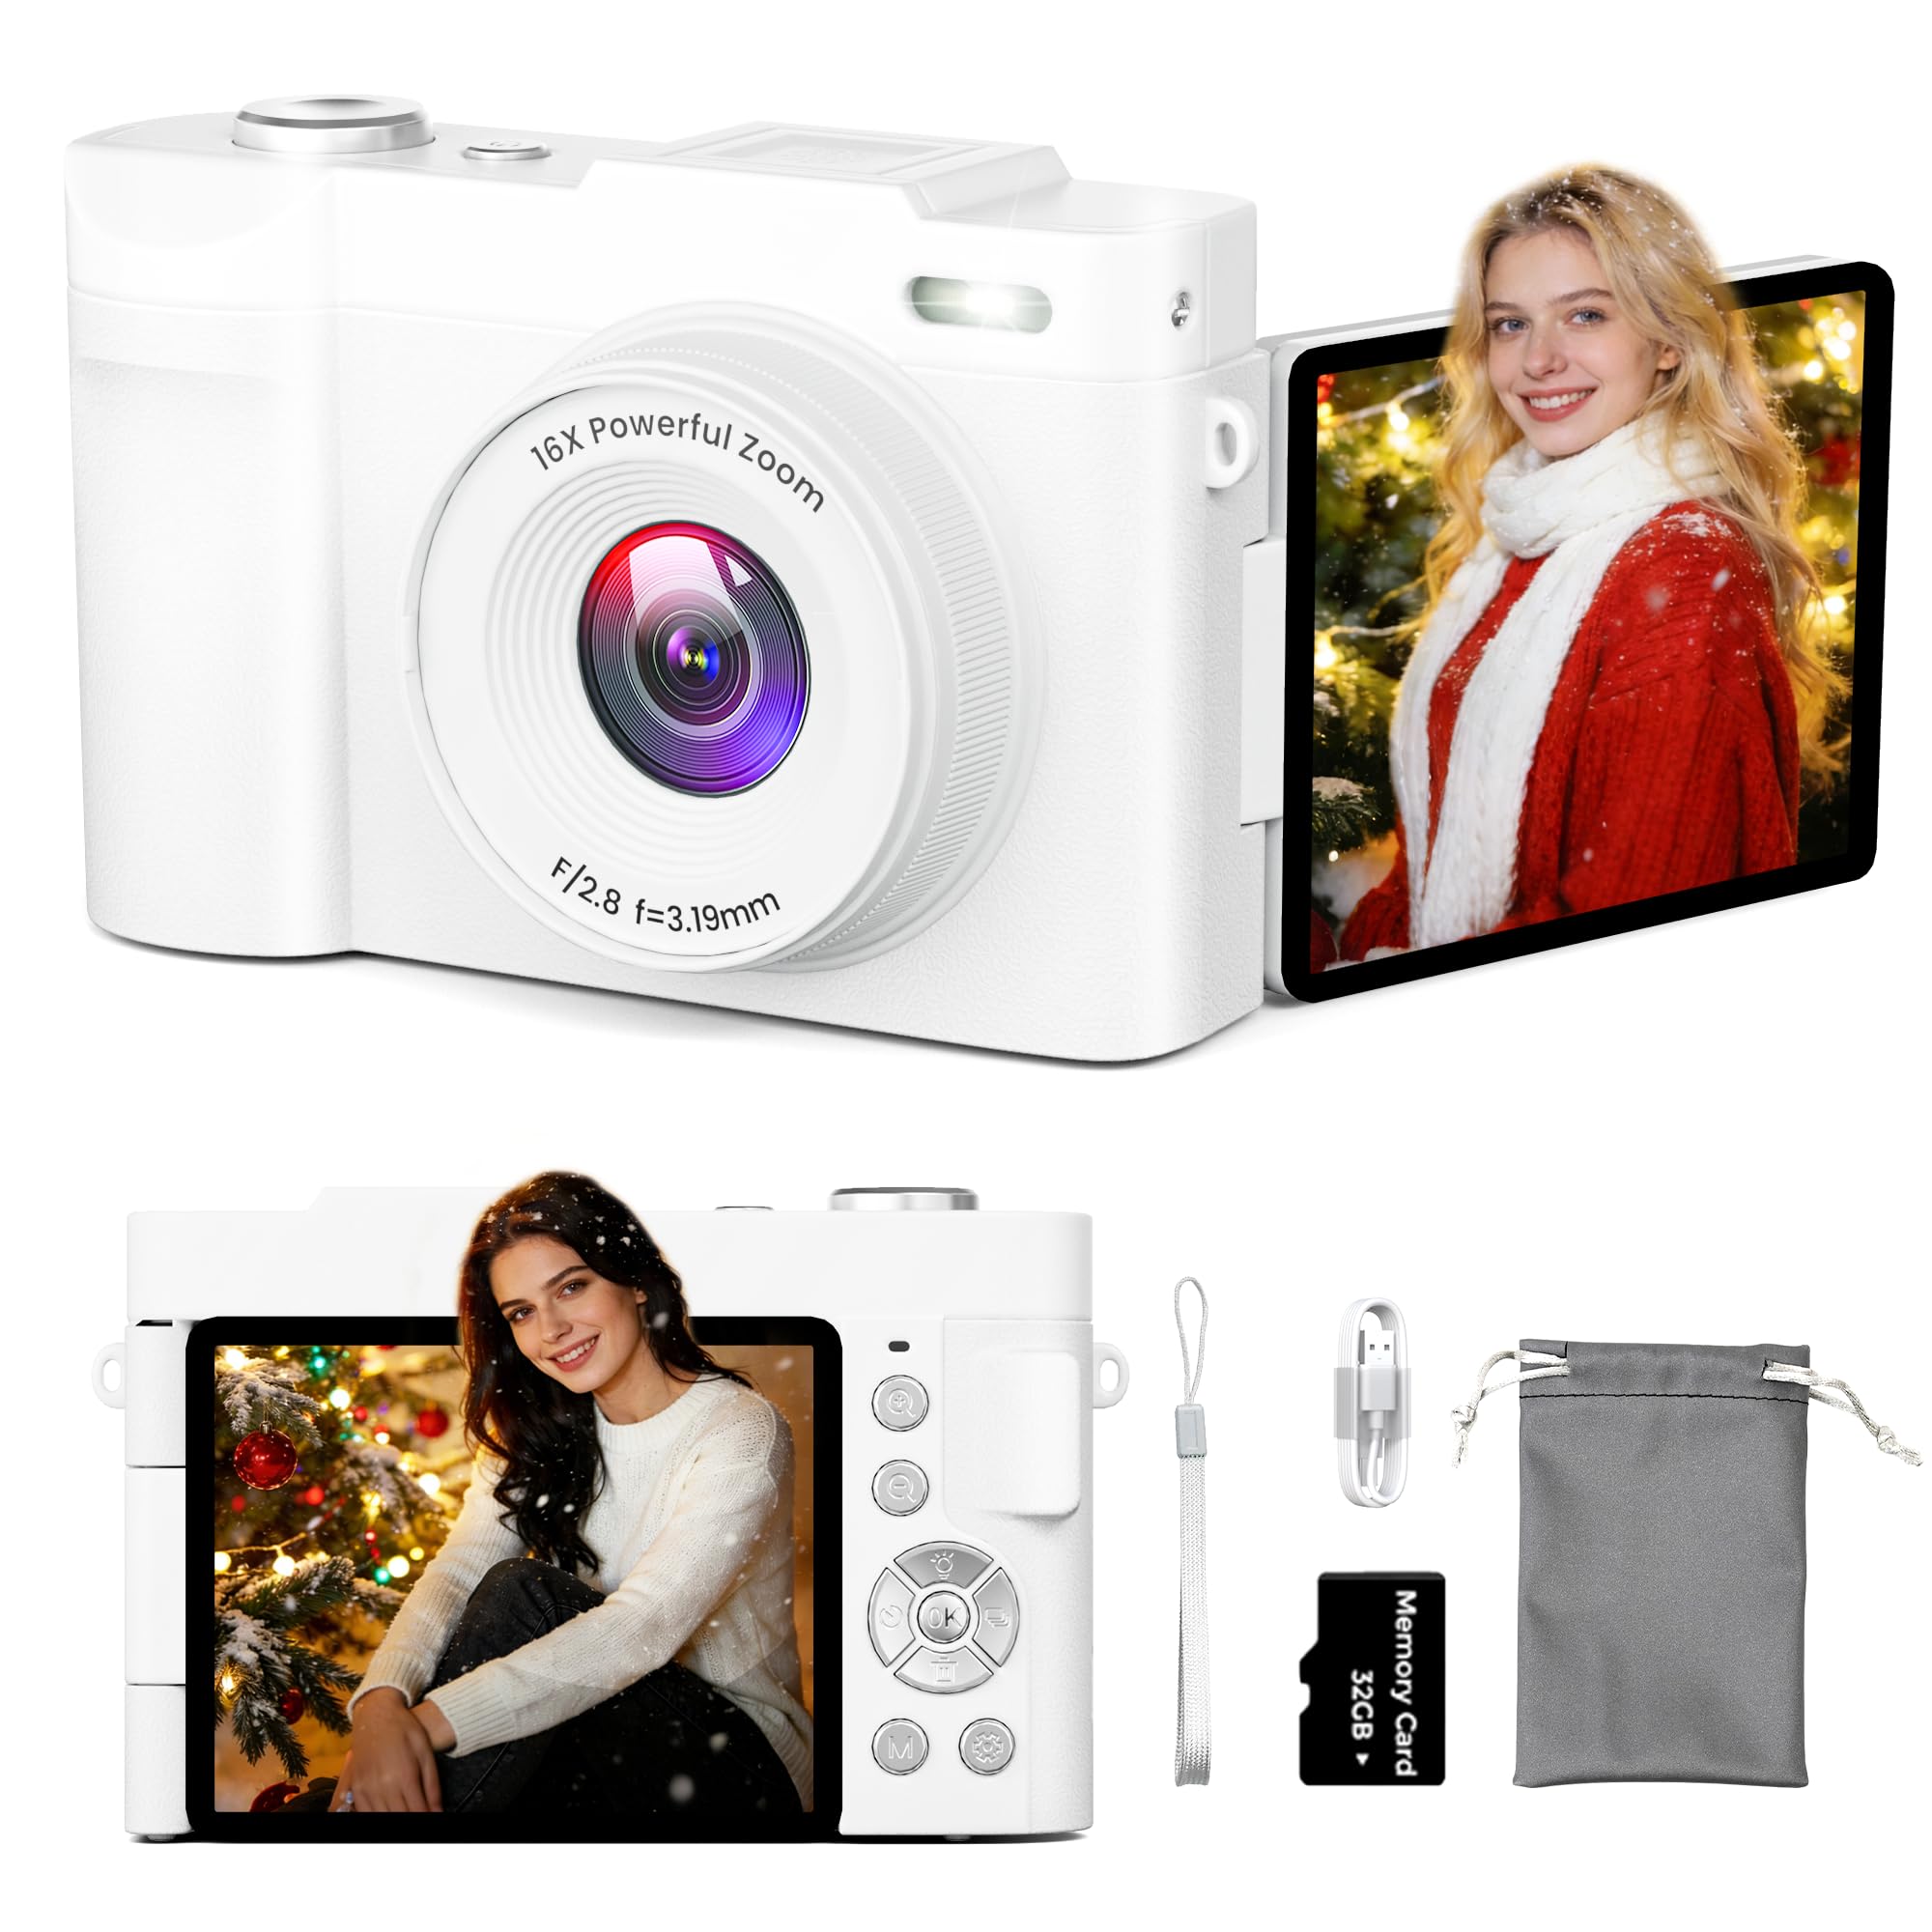
The camera is the foundation of your YouTube setup. However, beginners don’t necessarily need an expensive DSLR or mirrorless camera.
Many creators start with:
- A modern smartphone with 1080p or 4K video
- A compact vlogging camera with a flip screen
- An entry-level mirrorless camera
A smartphone is often the easiest choice because it’s portable and already capable of recording high-quality video.
Key features to look for
- Minimum 1080p recording
- Good autofocus
- Decent low-light performance
For beginners, using a phone is perfectly acceptable—many successful channels started that way.
2. Microphone (For Clear Audio)
Audio quality is one of the most important aspects of YouTube production. Viewers may tolerate average visuals, but poor sound quality often causes them to stop watching.
Common beginner microphone options include:
USB Microphones
- Ideal for desk recording, podcasts, and tutorials
- Easy plug-and-play setup
Lavalier (Clip-on) Microphones
- Great for interviews and vlogging
- Portable and smartphone-friendly
Many creator guides recommend prioritizing audio first when building a starter kit.
Typical budget:
$30 – $100
3. Lighting Setup

Lighting dramatically improves how your videos look. Even inexpensive cameras can produce great footage when the lighting is good.
Popular beginner lighting tools include:
Ring Lights
- Even lighting for talking-head videos
- Great for tutorials, livestreams, and beauty content
LED Panels
- More flexible lighting angles
- Ideal for YouTube studio setups
Ring lights are particularly popular because they create soft, even lighting that reduces shadows on the face.
Typical budget:
$20 – $60
4. Tripod for Stable Video

Shaky footage instantly reduces video quality. A tripod keeps your camera stable and allows hands-free recording.
Tripods are essential for:
- Tutorials
- Product reviews
- Talking-head videos
- Livestreaming
Even a small smartphone tripod can dramatically improve the professionalism of your videos.
Typical budget:
$10 – $30
5. Editing Software
Hardware captures your footage, but editing software turns it into polished content.
Popular beginner editing tools include:
- DaVinci Resolve – professional editing with a powerful free version
- CapCut – ideal for short-form content and social media
- Adobe Premiere Pro – industry-standard editing tool
Most beginners start with free tools and upgrade later.
Example Beginner YouTube Setup (Budget Version)
| Gear | Example Tool | Estimated Cost |
|---|---|---|
| Camera | Smartphone | $0 |
| Microphone | USB or Lavalier mic | $30 |
| Lighting | Ring light | $25 |
| Tripod | Smartphone tripod | $15 |
| Editing | DaVinci Resolve | Free |
Total cost: about $70
With this simple setup, creators can already produce professional YouTube videos.
Final Thoughts
Starting a YouTube channel doesn’t require expensive equipment. Most beginner creator kits focus on four essential elements:
- Camera or smartphone
- Microphone
- Lighting
- Tripod
Once these basics are covered, you can gradually upgrade your setup as your channel grows. Even a simple setup can deliver excellent results when paired with strong storytelling and consistent content creation.


